How to: HDR Imaging with Basler Cameras Using Sequencer Mode and PyPylon#
This article describes how to acquire and process HDR (high dynamic range) images using a Basler camera with the Sequencer Mode and the PyPylon SDK. It covers both camera-side configuration and host-side image fusion and tone mapping using OpenCV.
This article is written for ace 2 and boost R cameras, but the principles apply to other Basler cameras with sequencer support as well. Please adapt the code as needed for your specific camera model.
Objective#
The goal is to capture a sequence of images with varying exposure times using the camera's built-in sequencer, and then merge these into a single HDR image with improved detail in shadows and highlights. The result is a tone-mapped image suitable for display or further processing.
Hardware and Software Requirements#
Hardware#
- Basler area scan camera (supporting the sequencer mode)
- Stable illumination conditions, no flickering lights
- Stable scene (fixed camera position and target)
Software#
- Python 3.8+
- PyPylon Python bindings
- OpenCV (cv2)
- NumPy
HDR Capture Workflow#
Exposure Sequence Configuration#
The camera is configured with a list of exposure times in microseconds:
Each exposure time is loaded into a separate sequencer set. The camera is configured to cycle through these sets automatically after each trigger.
Key steps:
SequencerConfigurationMode = On- Set
ExposureTimeandSequencerSetNext - Configure
SequencerTriggerSource = ExposureStart - Save each set and exit configuration mode
Once configured, the camera is triggered in Burst Mode:
camera.AcquisitionBurstFrameCount = len(exposure_times_us)
camera.TriggerSource = "Software"
camera.TriggerSelector = "FrameBurstStart"
Captured images are saved as 16-bit TIFFs into a folder, e.g., raw_image/, with file names encoding their exposure time: img_5000us.tiff
HDR Image Processing#
Step-by-Step Process:#
- Load 16-bit TIFFs from disk.
- Bit-shift to extract 12-bit values.
- Normalize to float32 in [0,1].
- Apply triangle weight function.
- Compute radiance map.
- Tone map with Reinhard operator.
- Save result as PNG.
Example Images#
The following input images were captured using different exposure times:
| Exposure Time | Image |
|---|---|
| 50 µs |  |
| 500 µs | 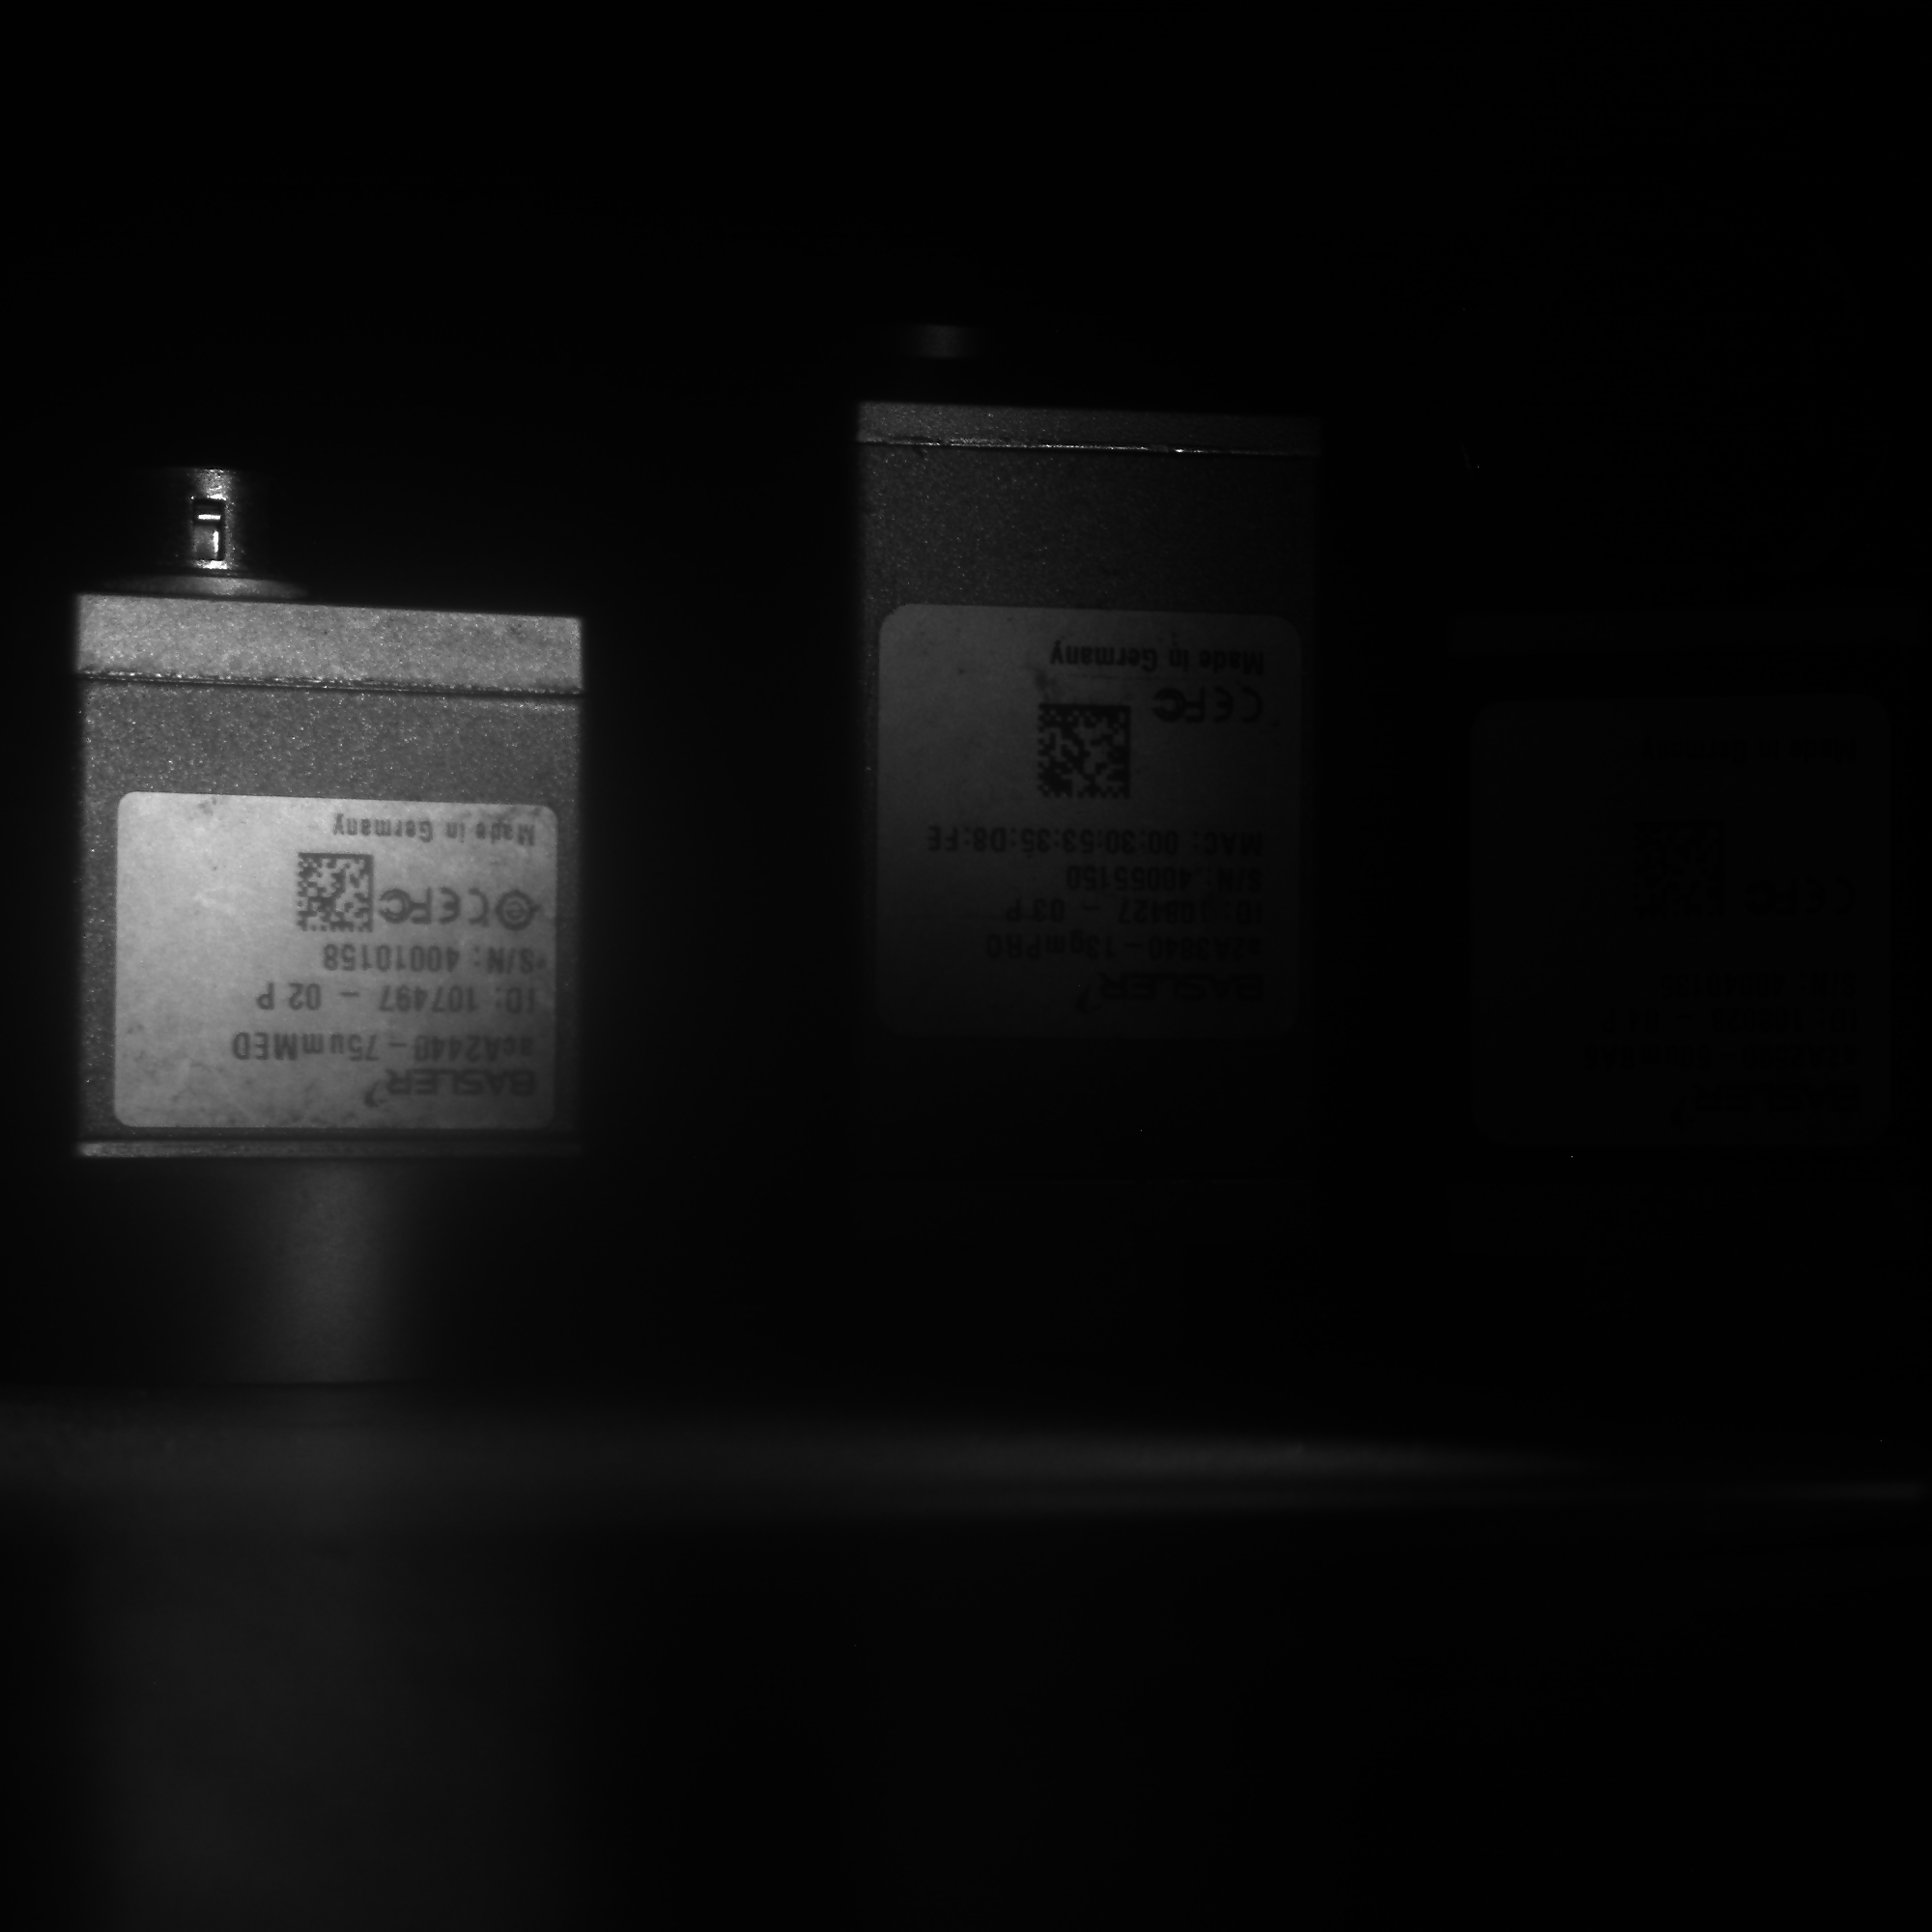 |
| 5000 µs |  |
| 50000 µs |  |
HDR Fusion Result#
The final tone-mapped image combines the details from all exposures:

Notes and Recommendations#
- Ensure fixed camera position and lighting across all exposures.
- Sequencer setup is retained until the camera is powered off or reset.
- Use OpenCV EXR support to save true HDR, if required (
cv2.imwrite("output.exr", hdr_image)). - For color cameras, additional demosaicing and white balancing steps are needed.
Troubleshooting#
| Issue | Cause | Fix |
|---|---|---|
| GrabTimeout | Exposure too long or FPS too low | Increase timeout |
| No HDR effect | Exposure range too narrow | Use more diverse times |
| File read error | TIFF not written or path wrong | Check permissions and folder |