ROI Creator vTool#
By defining a region of interest, you reduce the area of the image that the next vTool in your image processing workflow works with. This allows you to run image processing only on the intended target region. Doing this can help you avoid incorrect results or reduce processing time.
The ROI Creator vTool accepts an image via the Image input pin and outputs the size, orientation, and position of the rectangular region of interest via the Roi output pin.
Download the pylon Software Suite to use the ROI Creator vTool.
How It Works#
To use the ROI Creator, you need to connect its Image input pin to the Image output pin of another vTool.
In the settings dialog of the ROI Creator, you can then define the desired region of interest. You don't need to open an image for this. If you know the size, orientation, and position of the region of interest, you can use the input boxes in the ROI Settings area.
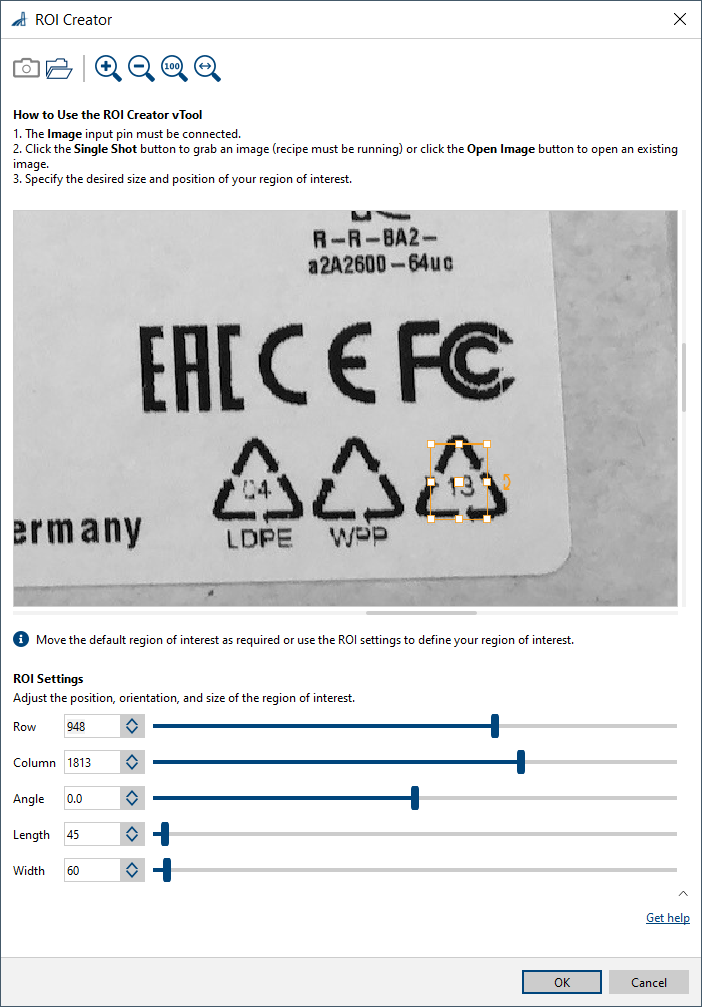
Alternatively, grab or open an image. A rectangle indicating the region of interest will be displayed in the image. You can move, resize, and rotate it using the handles or by using the input boxes in the ROI Settings area.
Tip
Another way to create a region of interest is to use one of the vTools that output regions. These are the following vTools:
- Absolute Thresholding vTool
- Auto Thresholding vTool
- Relative Thresholding vTool
- Color Classifier vTool
- Template Matching vTool
- Region Morphology vTool
You can connect the Region/Regions output pins of these vTools to the Roi input pin of other vTools. The data types RectangleF, RectangleF Array, Region, and Region Array are supported.
The RectangleF and RectangleF Array data types are converted pixel by pixel to a region. In the case of arrays, the individual rectangles or regions are merged internally to create a single region.
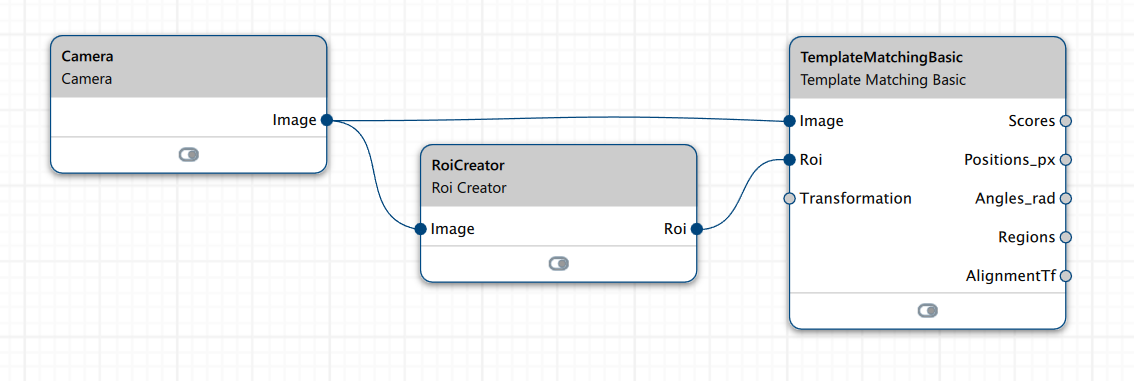
Add the ROI Creator vTool between the image source, e.g., the Camera vTool, and an image processing tool, e.g., the Template Matching vTool, as shown in the screenshot below. The Image output pin must be connected to both Image input pins, and the ROI output pin must be connected to the Roi input pin.
Common Use Cases#
Reducing the ROI for Matching vTools#
Assume a print inspection task where you want to make sure that a certain logo has been printed. Typically, you would teach the Template Matching vTool the desired logo. Very often, though, labels contain other, similar, logos or strings, which may lead to undesired results.
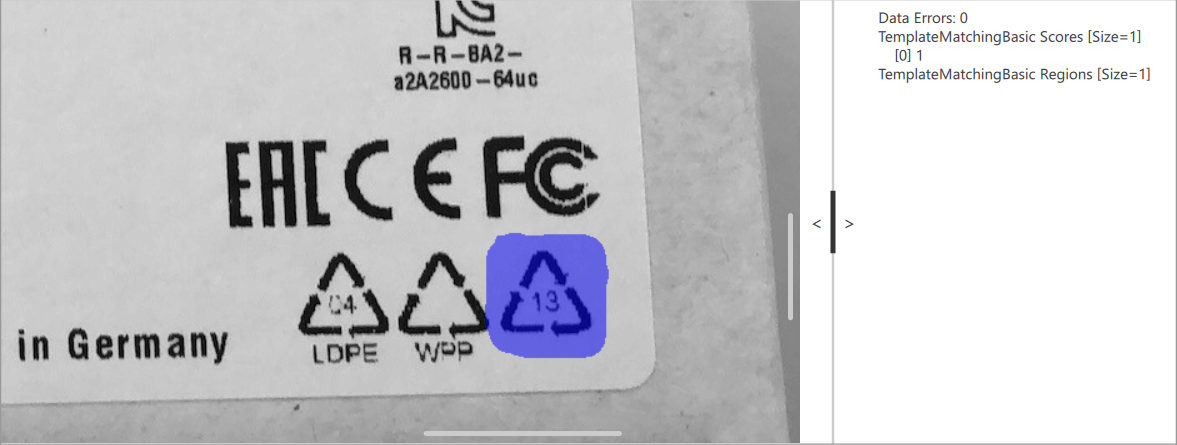
The following image shows the template image in which the desired logo is highlighted. Ideally, an image under inspection looks similar with the logo at nearly the same position.
If you execute template matching on the entire inspection image, two other matches are found. The neighboring logos are similar and have a good score. If you want allow for a certain print degradation during template matching, a minimum matching score of 0.6 to 0.7 can be common. Therefore, the score isn't sufficient to discriminate between the three different logos.
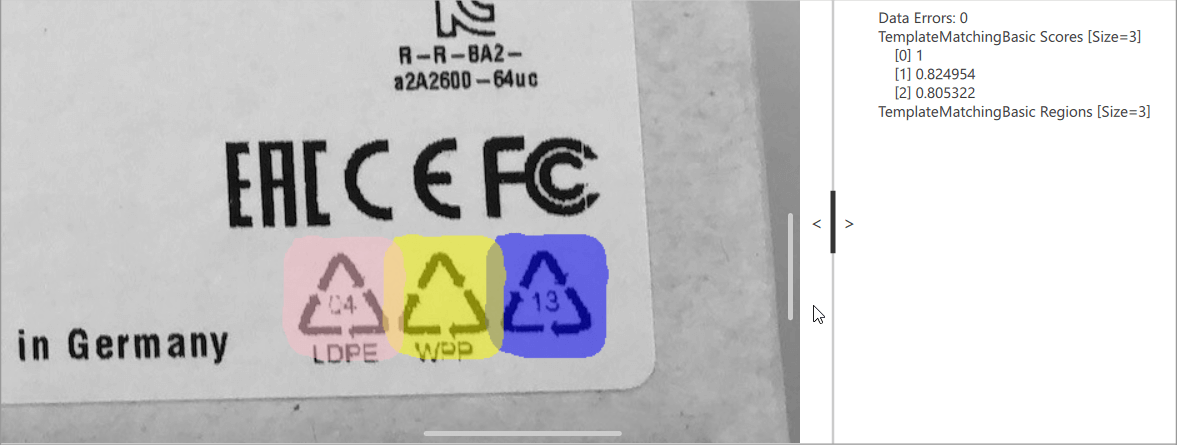
To solve this problem, use the ROI Creator vTool. In the settings dialog, define the central part of the logo as the region of interest. That way, only matches where the center of the template lies inside the region of interest are found.
Info
If you're using a region of interest to restrict image processing more or less precisely to a certain position, the object to be inspected has to be at the exact same position. If there are variations in object positioning, use the Image Alignment vTool as a preceding step.
Reducing the ROI for Segmentation#
You can also use the ROI Creator vTool to solve the print inspection task described above in a different way.
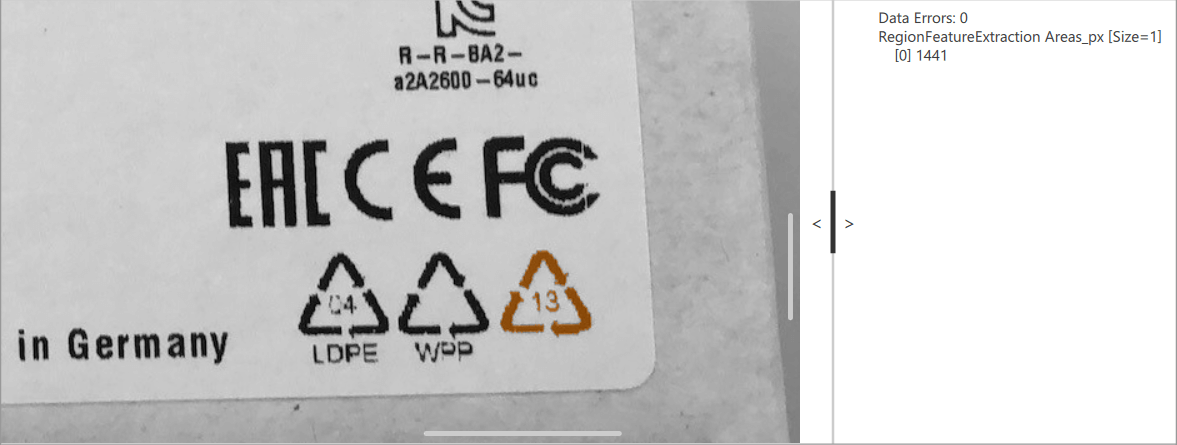
First, define a region of interest that covers the entire logo to inspect plus a certain tolerance. Next, use a thresholding vTool, e.g., the Auto Thresholding vTool. Finally, use the Region Feature Extraction vTool to compute the area of the region containing the dark logo. Specify a minimum threshold for the area to distinguish between a good or bad print.
Configuring the vTool#
To configure the ROI Creator vTool:
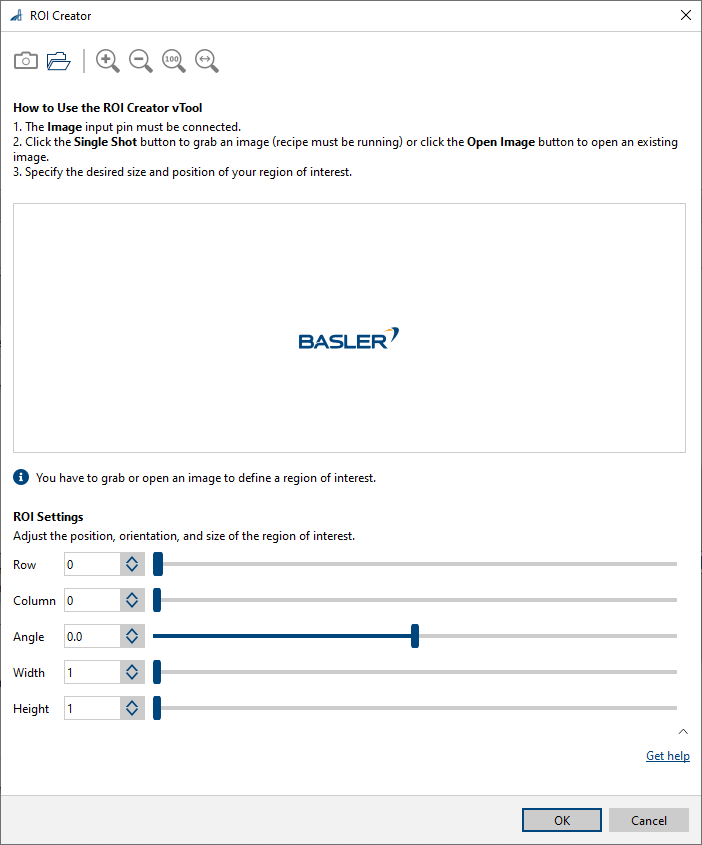
- Connect the Image input pin to an Image output pin of another vTool.
- In the Recipe Management pane in the vTool Settings area, click Open Settings or double-click the vTool.
The ROI Creator dialog opens. - Capture or open an image.
- In the ROI Settings area, define the region of interest manually.
Alternatively, you can use the handles of the rectangle displayed in the image to move, resize, and rotate it as desired.
Inputs#
Image#
Accepts images directly from a Camera vTool or from a vTool that outputs images, e.g., the Image Format Converter vTool.
- Data type: Image
- Image format: 8-bit to 16-bit mono or color images. Color images are converted internally to mono images.
Outputs#
Roi#
Returns the region of interest.
- Data type: RectangleF